Our team recently completed a new tarmac driveway installation at a property in Preston, creating a clean, practical and attractive surface across the front and side of the home. The project included a fresh tarmac finish, charcoal block paving borders and a neat feature step at the front entrance, giving the property a much smarter and more usable outdoor space. Quality Driveways provides driveway, patio and landscaping services across Preston, Lancashire and the surrounding areas, and this project shows the attention to detail that goes into every installation.
The existing driveway area had become worn and patchy, with different surfaces around the front, side access and garage approach. The homeowner wanted a more consistent finish that would improve the look of the property while also making the space easier to use day to day. After discussing the options, tarmac was chosen as the best solution. Tarmac is a popular choice for residential driveways because it is strong, low-maintenance and cost-effective, while providing a smooth and tidy appearance that suits many types of homes. To complete the design, charcoal block paving edging was added to frame the surface and create a clean, defined border.
Project Overview:
Phase 1: Excavation & Removal
The first stage of the project was to remove the old driveway surface and prepare the area for the new installation. The existing worn sections were cleared from the front of the property, along the side access and towards the garage, allowing the team to create one more consistent driveway layout. Excavating the area to the correct depth is an important part of the process, as it ensures there is enough space for a strong foundation and allows the finished driveway to sit at the right level against the property, pavement and surrounding surfaces. Once the old materials had been removed, the site was cleared and made ready for the next stage.
Phase 2: Ground Preparation
After the area had been excavated, the ground was prepared for the new driveway base. A strong MOT Type 1 sub-base was installed across the full driveway area and compacted thoroughly to create a stable foundation. This stage is essential for a long-lasting tarmac driveway, as the strength of the finished surface depends heavily on the preparation underneath. By compacting the sub-base in layers, our team created a firm platform suitable for regular vehicle use and everyday access around the property.
Phase 3: Edging & Drainage
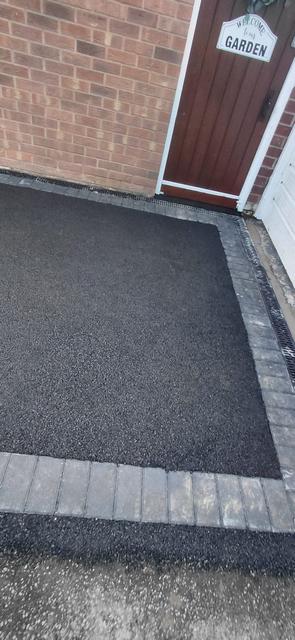
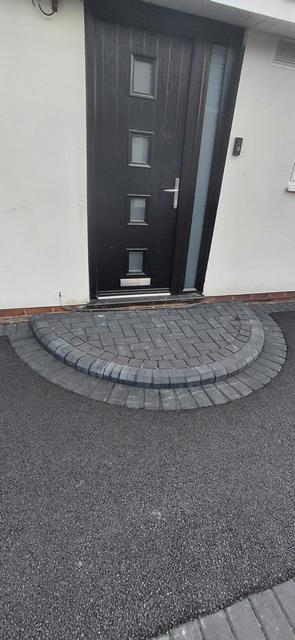
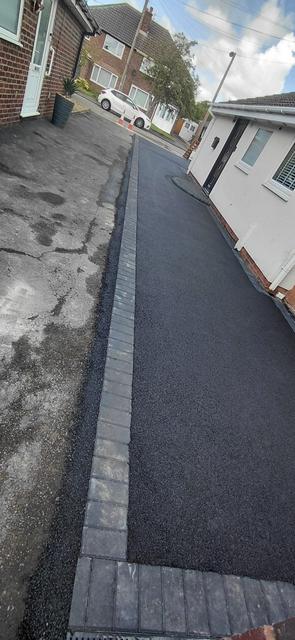
With the foundation in place, charcoal block paving edging was installed to shape and define the new driveway. The edging was fitted along the front boundary, around the main driveway area, down the side of the property and along the garage access route. A curved block paved step was also created at the front door, adding a decorative feature while making the entrance look more complete. The correct levels and falls were then set to help rainwater drain away from the property and driveway surface. Good drainage is a key part of any driveway installation, helping to protect the surface and support long-term performance.
Phase 4: Base Course Installation
Once the edging, step detail and levels had been completed, the tarmac base course was laid across the prepared areas. This base layer gives the driveway additional strength and creates the structure needed beneath the final wearing course. The material was spread evenly and compacted carefully to produce a firm, level surface. This stage helps ensure the finished driveway can handle regular parking, foot traffic and changing weather conditions while maintaining a smooth appearance.
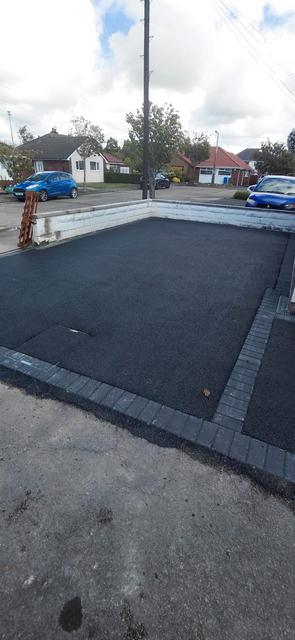
Phase 5: Tarmac Surface Installation
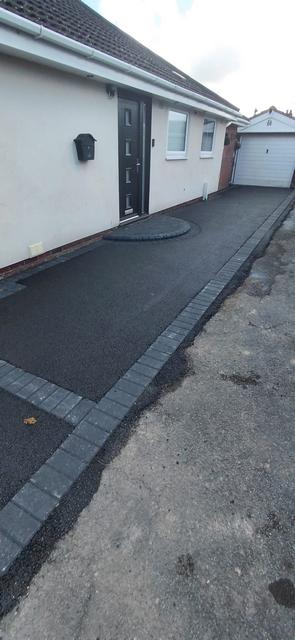
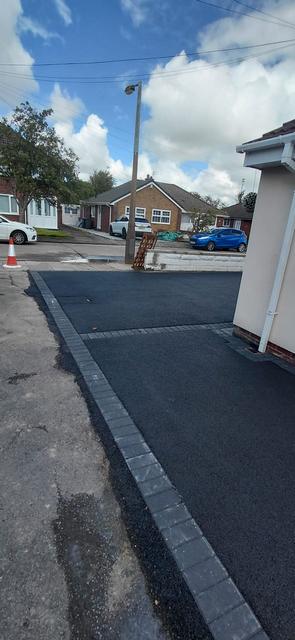
After the base course had been installed, the final tarmac wearing course was applied to create the finished driveway surface. The tarmac was laid across the front driveway, side access and garage approach, then compacted to achieve a smooth and consistent finish. The fresh black surface immediately gave the property a cleaner and more modern look, replacing the uneven old areas with one tidy, practical driveway. The contrast between the dark tarmac and charcoal edging also helped give the installation a sharp and professional appearance.
Phase 6: Finishing Touches
With the tarmac surface complete, the final stage was to inspect the full driveway and complete all finishing details. The block paving borders were checked, the front step feature was tidied, and the edges around the property, pavement and garage access were finished neatly. The site was then cleaned down, leaving the homeowner with a smart new driveway ready to use once cured. These final checks are an important part of the process, helping to ensure the completed installation looks tidy and performs as it should.
The End Result:
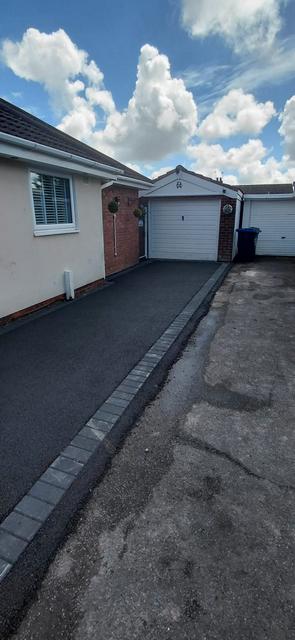
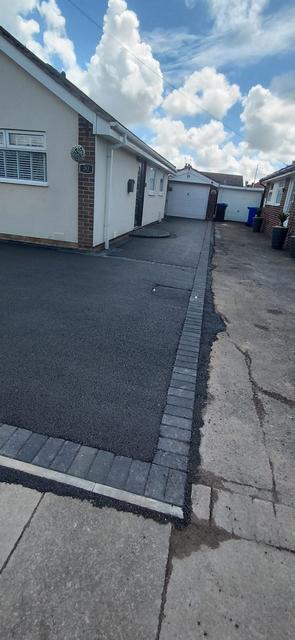
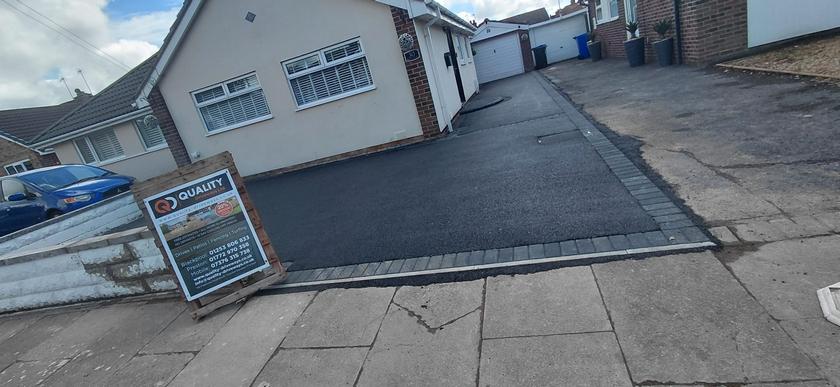
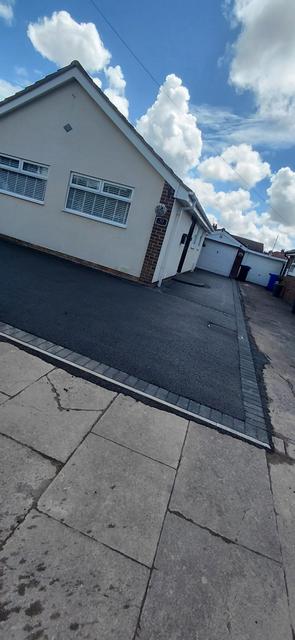
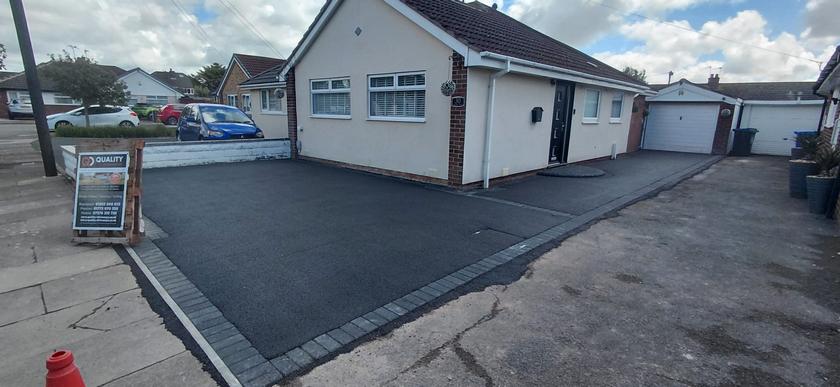
The completed tarmac driveway has made a big improvement to this Preston property. The new surface now creates a clean, practical and low-maintenance area across the front and side of the home, with improved access to the garage and entrance. What was once a patchy and dated outdoor space now has a much more consistent and attractive finish.
The charcoal block paving edging gives the driveway clear definition, while the curved front step adds a smart detail to the entrance. The smooth black tarmac provides a durable surface for everyday use and gives the property a fresh, well-kept appearance from the roadside. The overall result is a practical driveway transformation that improves both kerb appeal and usability.
Thinking About a New Tarmac Driveway in Preston?
If you are considering a new tarmac driveway in Preston, Quality Driveways is here to help. From the initial excavation and groundwork through to edging, drainage, step details and the final tarmac finish, our team delivers high-quality workmanship and a professional service on every project. Contact us today to arrange a free, no-obligation quote and let us help transform the front of your property with a driveway that is built to last.